
Under the Hood #5: How To Solve Neck Attachment Problems on a Telecaster
As we have already described in detail in the previous parts of this series, one of the main advantages of the Telecaster is the bolted neck, i.e. its attachment to the body. From a manufacturing standpoint, this is a cheap solution, and from a service standpoint, it's a win if the neck needs to be repaired or its angle adjusted. However, this neck attachment also hides problems that are quite common. I will try to explain what influences the neck fit and how to effectively deal with any shortcomings
The neck should fit easily in the body pocket, but for example, exposure to humidity can change the volume of the wood and thus the size of the pocket. On older models, necks normally have to be shimmed to make its angle to the body ideal. Intense or careless playing may put too much pressure on the neck, and the screws which fix the neck may loosen. If the neck is frequently removed from the body, the holes for the screws may become damaged or enlarged, so that the neck cannot be securely attached to the body. A neck-to-body joint damaged after a fall can be a serious problem that can be very expensive to repair.
This is just a brief summary of a few possible situations that affect how well the neck fits in the guitar's body pocket of the guitar and how it is angled relative to the body. As a guitar technician, I encounter these problems on a regular basis. Sometimes it's quite a challenge to solve everything reliably. Many guitarists that come into the repair shop are astonished at all the things that can happen—let's say spontaneously—at the neck/body joint.
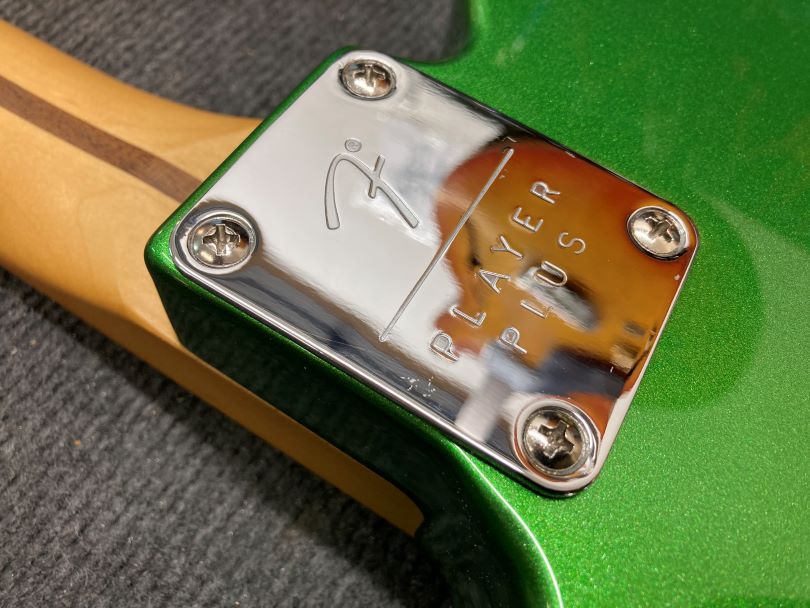
Neck attachment with three or four screws
Since the 1950s, the necks of Telecasters have been attached to the body with four screws. This guaranteed a certain stability. The screws are long and wide enough to sustain the pressure of the strings. In the seventies, when Fender was owned by CBS, there was a huge push to reduce costs and increase quantity and speed of production. This led to a reduction in the quality of guitars, including Telecasters. One of the main changes, noticeable at first glance, was the attachment of the neck to the body with only three screws.
However, this change only affected the Thinline, Deluxe, and Custom models. Fortunately, the classic Telecaster remained structurally unchanged. Due to the lack of success during this era, the reliable and high-quality four-screw attachment was returned to all models in 1981.
Problems with the size of the neck pocket
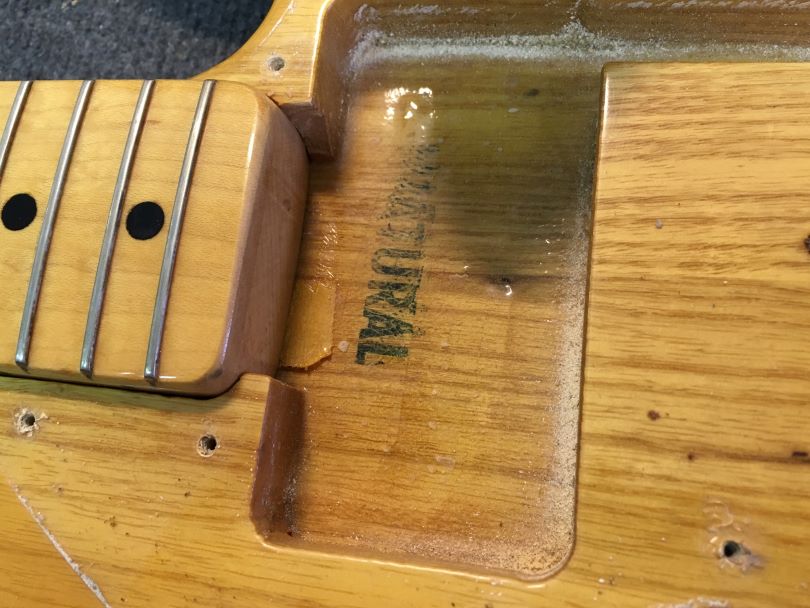
It is extremely important that the neck fits the body pocket exactly when making it. Ideally, there should be no slack in the sides. But manufacturers don't always manage to do this. With Fender, there are two main factors that adversely affect the size of the body pocket—the lacquer and exposure to humidity.
A neck pocket that is too big or too tight is typical of 1970s Fenders in particular. In those years, Fender used thick layers of lacquer on guitars. This was mainly due to the aforementioned pressure to reduce costs and production time. Under these conditions, it was impossible to maintain a high standard of lacquer quality, which is why instruments from this decade are notorious for their thick layers of lacquer.
If the lacquer layer is thick on the edges of the neck, the neck pocket must be all the greater. If the lacquer layer is also thick in the body pocket, the neck must be smaller by the corresponding dimensions. It is therefore necessary to work with this fact during manufacture.
Another phenomenon that always affects the guitar is humidity. This affects the behavior of the wood. If the guitar is in a dry environment, the wood is stripped of water and its volume decreases. If, on the other hand, the guitar is exposed to too much humidity, the wood absorbs the water and its volume increases. This process can cause spontaneous readjustments of the guitar as well as complications at the neck and body attachment points.
If the wood shrinks, the volume of the neck decreases and the neck pocket on the body becomes larger. And there's the problem. The effect is that the neck has too much room in the neck pocket on the sides. There is a gap between the two parts and the neck tends to move sideways under string pressure or as a result of intense playing. If the neck were to move sideways, the strings would not run parallel to the neck over the fingerboard.
Conversely, as the wood swells, the volume of the neck increases. The body wood also gets bigger and the neck pocket gets smaller. As a result, the neck is too tight in the pocket. This can be a problem when the neck needs to be removed from the body. When the neck is handled, the paintwork can easily be damaged or the edges of the pocket cracked.
If a guitar is several decades old, it is quite common for it to go through several cycles of shrinkage or re-wetting. The wood will eventually stabilize over time, but it may not be in the desired condition. This is why many 1970s Fenders—not just Telecasters—have a larger or smaller gap between the edge of the neck end and the edge of the neck pocket.
The whole problem is then compounded on these models by the aforementioned unfortunate three-bolt neck attachment. Because if there is any play between the neck and the body, three screws certainly do not guarantee sufficient stability. And, as I also mentioned, the neck tends to move sideways when there is a gap between the neck and the body. This damages the fit of the screws, which then rotate in the holes even when tightened down.
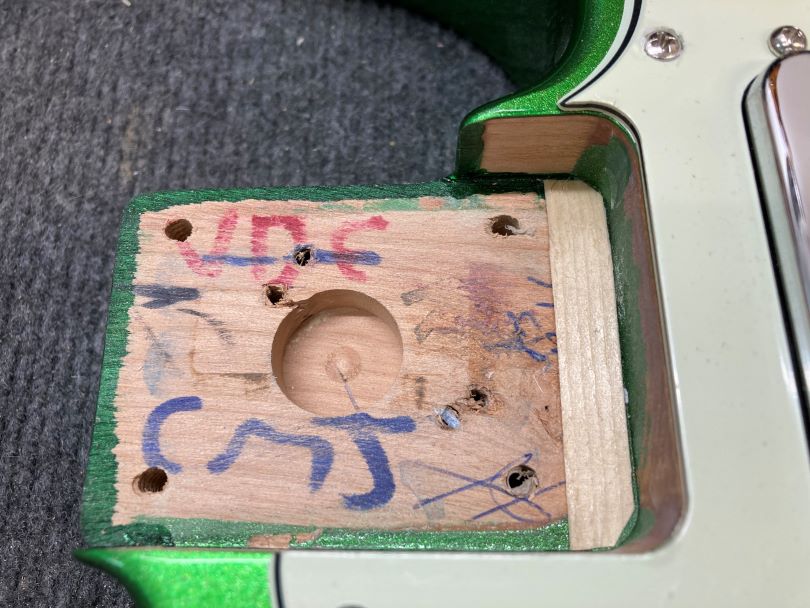
The solution to this problem lies in lining the edges of the pocket on the body so that the pocket becomes smaller and the neck cannot move in it. Reducing the size of the pocket is commonly done by inserting a veneer on one or both sides of the pocket, depending on the situation. The thickness of the veneer must be chosen individually. The neck should not move around in the pocket, but it is also necessary that it can be removed and put back on smoothly if necessary. Personally, I always choose the veneer according to the color of the lacquer of the body, so that it blends in and is not too visible.
If the screw holes are damaged, they need to be re-drilled—stuff the old hole with wood and then drill a new hole of a suitable size so that the screws securely fix the neck.
Neck to body angle adjustment
The advantage of the Telecaster's bolt-on neck is that you can simply reposition the neck and adjust its angle to the body to the desired position. This is a major advantage over glued necks, which are difficult and expensive to unglue from the body in the event of a problem. With Fenders, you can disassemble the neck over and over again and adjust everything to perfection.
Due to the drying of the wood, the deflection of the neck can change or create a warp in the neck. Some deformation can also appear on the body of the guitar. It is therefore common to have to readjust the neck angle and adjust the guitar's tuning to the current conditions.
A model example is that the neck is recessed too low in the pocket (i.e., too far down from the front of the guitar body), so the string reach must be reduced to be as close to the fingerboard as possible. While you can adjust the string height using the bridge saddles, they have their limits. If they are set as low as they can go, but the strings are still too high, the neck needs to be padded out so that it sits shallower in the body of the guitar and is closer to the strings. The fingerboard can then be adjusted comfortably.
The neck is ideally lined with wood veneer. The thickness of the veneer should again be chosen on a case-by-case basis. It may happen that after lining you find that it is still too little or too much, for example. Then the whole process must be repeated and the veneer replaced.
Fender had already taken this possibility into account in the production process and added pads to the guitars that fit exactly into the neck pocket. However, I have also encountered in the repair shop that someone used a material other than wood for padding. Business card stubs, pieces of plastic, or credit cards are no exception. This serves its purpose, but the transmission of sound and vibrations between the neck and the body must be taken into account. A piece of plastic or paper will definitely not ensure a good transmission, on the contrary, it will harm the guitar's sound.
The neck padding is usually done at the end of the neck set into the body pocket. However, there are also cases when it is necessary to pad the neck in front of the pocket or even along its entire length. A thin layer of veneer is used to pad the neck at the point of contact with the body pocket, but this creates a small step and the contact between the two parts of the guitar may not be perfect. That is why nowadays you can buy special pads that mimic the shape of the whole pocket and guarantee better contact between the body and the neck over the whole surface.
Adjusting the neck angle with an Allen key
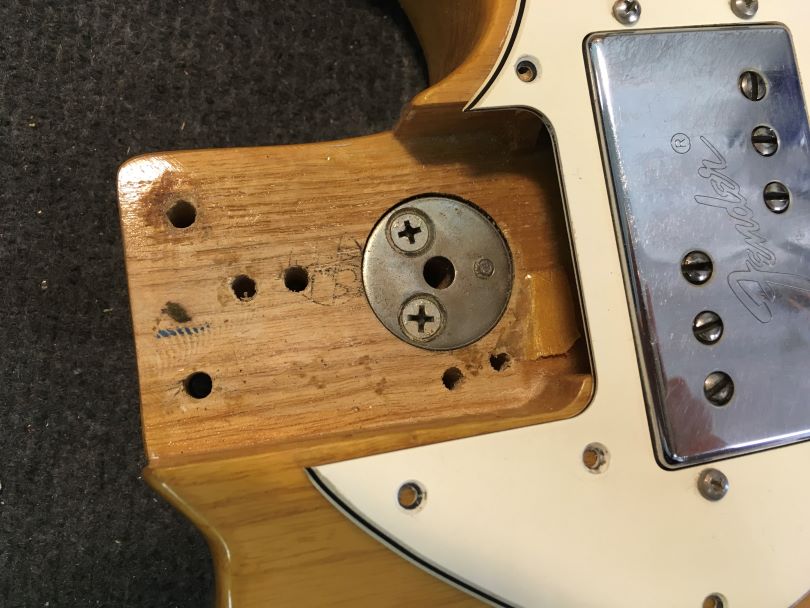
The three-bolt neck attachment on the 1970s Fender models was unfortunate, but there was one good innovation. Fender installed a mechanism between the screws that could adjust the angle of the neck to the body with an Allen screw without removing the neck from the body.
If you need to readjust the neck angle, just slide the Allen between the screws. If the neck needs to be lined, just turn the Allen clockwise and the worm will push the end of the neck higher. However, before making this adjustment, the screws fixing the neck must be loosened slightly to give the neck room to move.
If the neck needs to be seated lower, turn the Allen screw counterclockwise. The worm will go back into the body and a small gap will be created under the neck. This will disappear when the screws are tightened. The neck is then seated lower, deeper in the body of the tool.
Nowadays this mechanism is commonly fitted to Telecasters, so there is no need to constantly remove the neck.
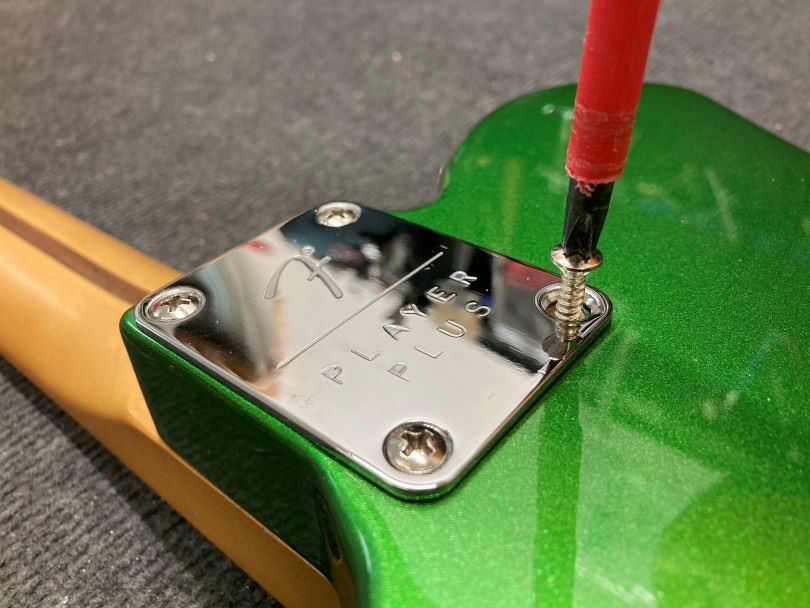
How to remove and attach the neck of a Telecaster
The procedure for removing the neck is simple. The strings must be completely loosened to remove any tension. Then just unscrew the fixing screws and carefully slide the neck out of the pocket. This can sometimes be difficult if the neck is too tight in the pocket. There is a danger that a piece of paint on the edge of the pocket will peel off when the neck is extended. It is therefore necessary to proceed with the utmost care.
On the other hand, it is common to use more force on old guitars, as the necks are usually pressed against the body. You must always be able to estimate how much you can pull the neck away from the body to avoid damaging the lacquer or cracking the edges of the pocket.
Installing the neck is basically the same procedure, just with the order of the steps reversed. It is important to insert the neck carefully and slowly to avoid damaging the lacquer or the wood directly. You need to make sure that the neck fits properly against the body. Only then do you tighten the screws. Check everything after tightening.
On older models, it is sometimes necessary to lubricate the screw threads so that they can be tightened smoothly. If the screws can only be tightened with a lot of force, the head may break off or the thread itself may break in half. In this case, it is necessary to get the screw out of the hole or to drill it out.
To close
Removing and reinserting the neck into the body pocket of a Telecaster is neither difficult nor unusual. The guitar is designed for this purpose, and it's brilliantly user-friendly because of it. But at the same time, the neck/body joint is a stressed area. It is therefore important to pay attention to it and to detect an impending problem early on if necessary. But just to reassure you: absolutely everything on a Telecaster can be repaired.
If you have found an error or typo in the article, please let us know by e-mail info@insounder.org.


